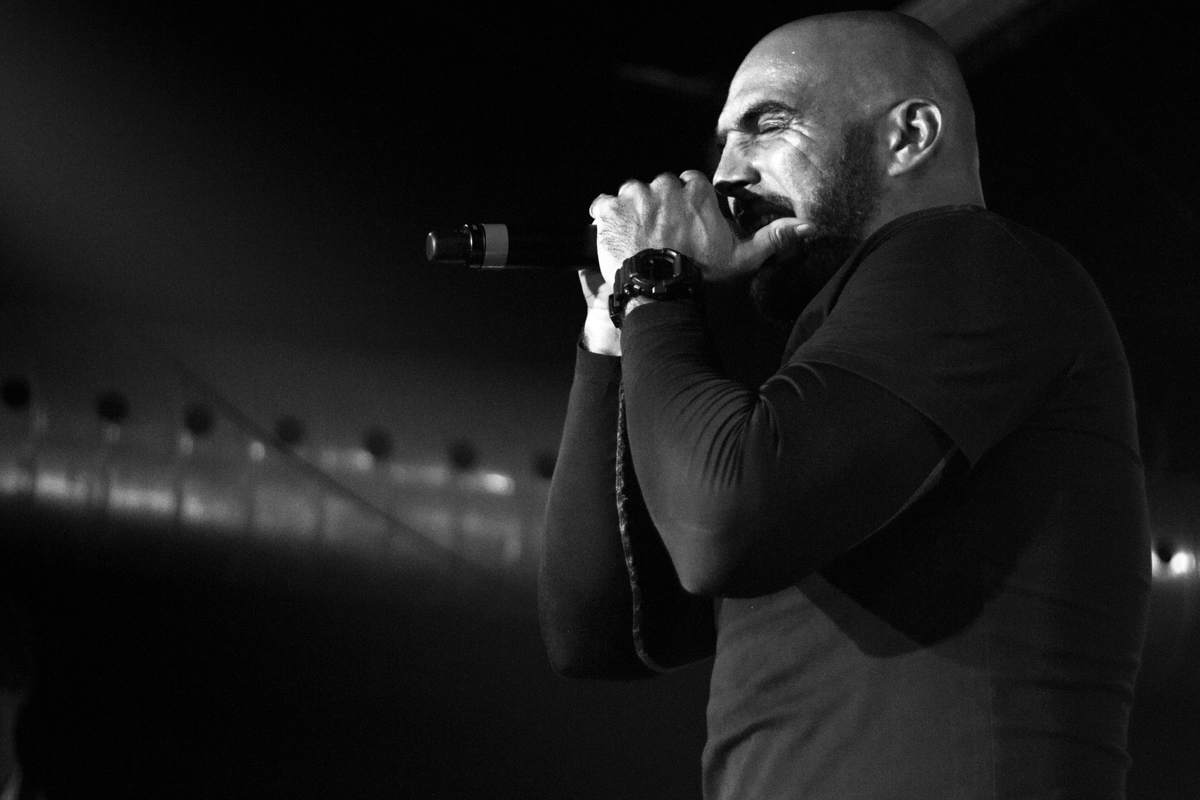
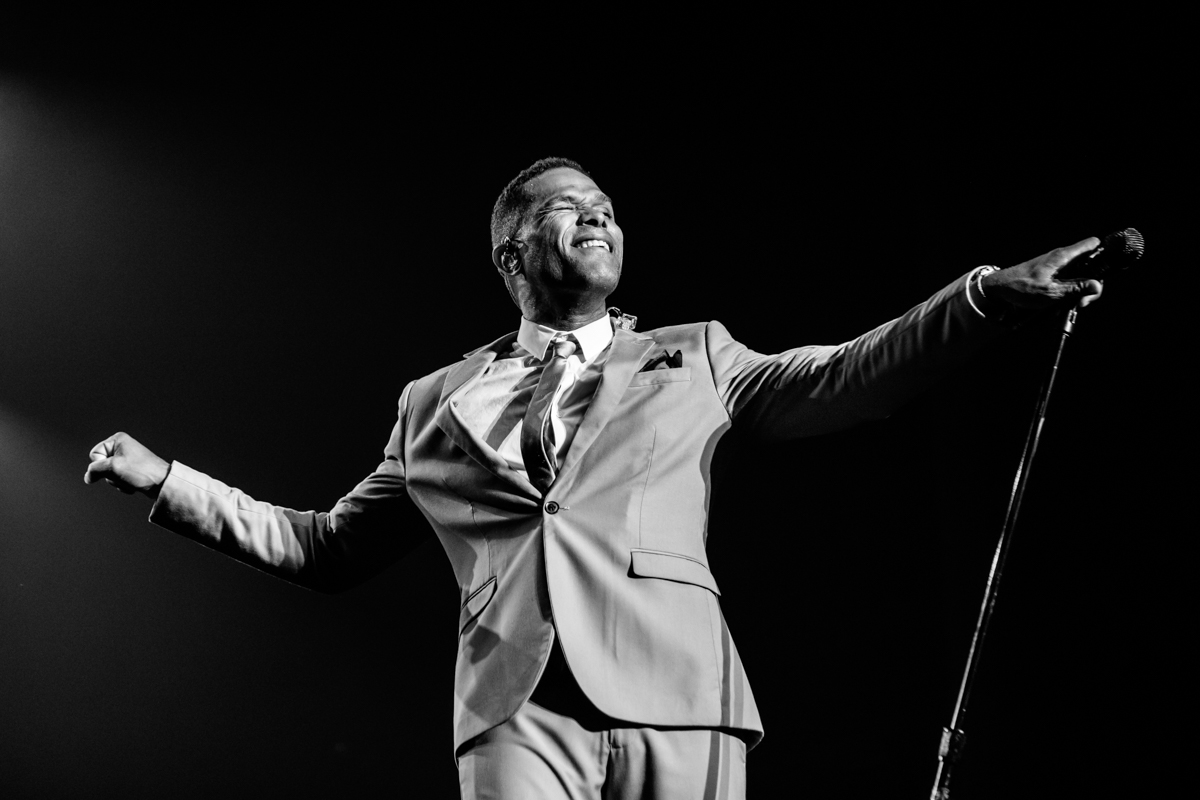
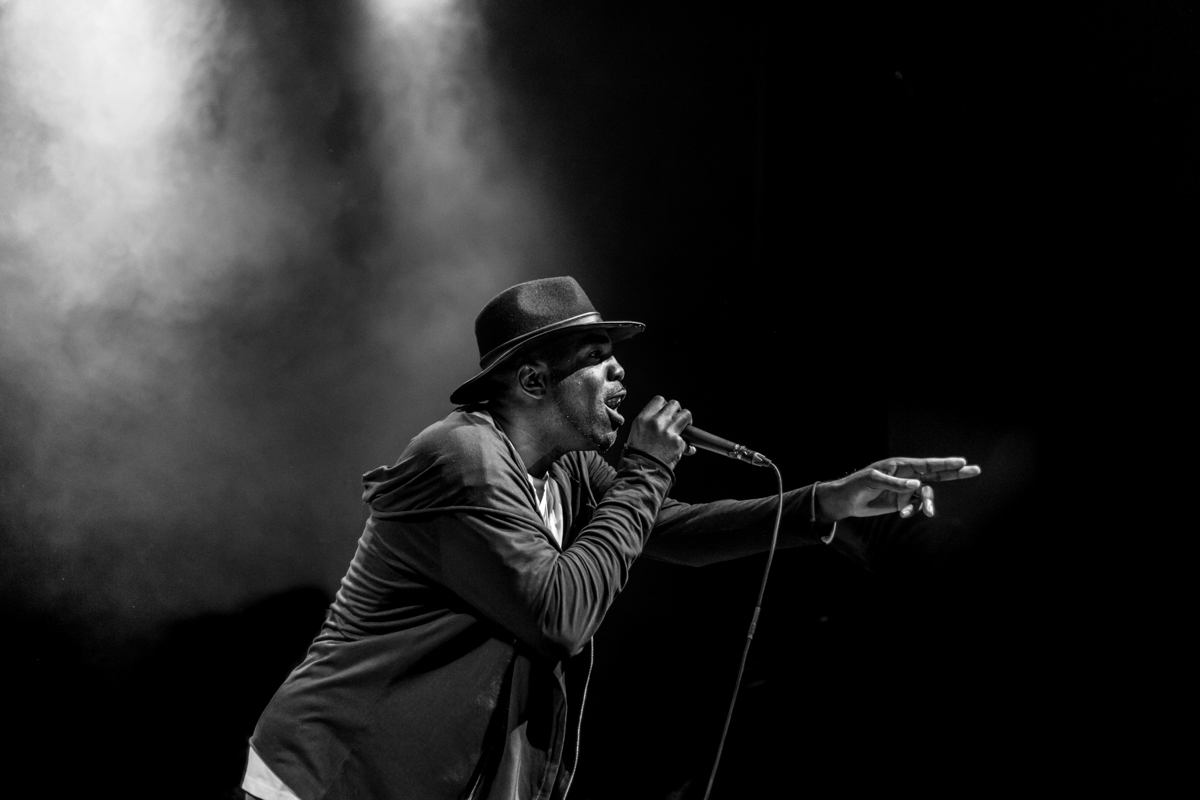
Concert photography is one of my favorite domains with backstage photo, still and travel. Thanks to various clients such as Camuz, I have been able to cover about a hundred concerts and festivals over the past three years.
Today, I share with you some « rules » and tips from the profession.
1. Choose the right equipment (adapted to concert photography): ISO, aperture and autofocus speed
are preferred
As much as today it is easy to make beautiful pictures with a professional look thanks to the democratization of digital cameras, as much to make concert photography, it will be necessary to move up the range, because of the brightness. Large concerts in large venues are generally very well lit. But you may have to deal with small rooms or very dark light strings: in these cases, you will have to push your ISO.
This is why it is important to choose a camera with a high digital noise limit. For example, a Canon 5D allows you to go up to ISO 12,800, compared to 800 with an entry-level body. To know if a device manages digital noise well, it is best to consult the tests of comparative websites.
Followed by this, you must choose your optics, through which the light passes and with which you focus. This requires bright and fast optics. This means with a maximum opening of f/2.8 and a minimum opening of f/1.4. Below f/1.4, there is a risk of having a too deep field depth, with for example a clean nose and the rest of the face blurry, which is not particularly interesting. However, optics with a very large aperture – below f/1.4 – also generally have a very good sharpness. So it can be interesting to shoot with a 50mm f/1.2 for example, by setting it to f/1.8. Finally, the lens’ focusing ability – autofocus – must be fast despite movement and light changes. For this, again a search on comparative sites is ideal.
2. Choose the right way to work
As with the choice of your equipment, you can get away with it all in a fully automatic mode with beautiful, almost professional photos, as much as in concert you need to know your camera and at least your basic settings. Indeed, due to variations in light, intensity, colors, movements, it is preferable to photograph in any manual mode. This means reacting quickly and anticipating movements and lights. For the moment, you are in automatic mode instead of your camera, you must know your settings by heart. Of course, all this comes with time and experience.
However, depending on the time you have – the full concert or the first three songs – and depending on the light strings – predictable or extremely fast – you can choose to set some parameters in automatic mode. For example, ISO: which allows you to focus on composition. In this case, you have to be careful that the adjustment, which is made at the time of autofocus, is made in the right place, so as not to end up with a completely burned face, for example.
3. Photograph as a raw file
From the beginning, it is better to take your photos in RAW. In concert, it is mandatory. This allows a great freedom of post-processing : correct white balance (sometimes the light can be very red or very blue, faces can be completely yellow, etc.), which is impossible on a JPEG file, reduce digital noise, etc.
4. Taking pictures without flash
In concert, it is not recommended to use a flash, and most of the time, it is prohibited. Not only does it disturb musicians and the audience, but it is often useless because of the distance from the stage, the play of lights and smoke that will interfere. Moreover, it can distort the original lighting atmosphere, even if it is very dark.
5. Know how to dial quickly
>
Sometimes, you will have the whole concert to take pictures, sometimes five minutes, sometimes three songs… Sometimes the subjects will be motionless, other times they will move in all directions, or you will constantly change places in a limited time. Here, you have no control over the light or the subject. So you have to know how to compose quickly, and once again, be yourself in automatic mode: the rule of thirds must be automatic, you don’t cut off hand, foot or chin. It is also interesting to vary your points of view, if the rules and configuration of the place allow it: pit, steps, balcony, left or right of the stage… As well as to vary your shots: wide shots to reflect the atmosphere, close-ups to show what you wouldn’t necessarily have seen in the madness of the concert, etc.
6. Know your subject
>
Being a music lover, knowing at least a little bit about the world of entertainment, can help and can make a difference. By having this knowledge, you will know which photo is important and meaningful to which artist. You will also know when to take a picture, by anticipating a guitarist solo that takes place at each performance for example, or an action specific to the artist that he does at each concert. If you don’t know the artist at all, knowing the music, its technical aspects, its little recipes, its composition methods, etc. can really help you to capture moments and details that make all the difference.
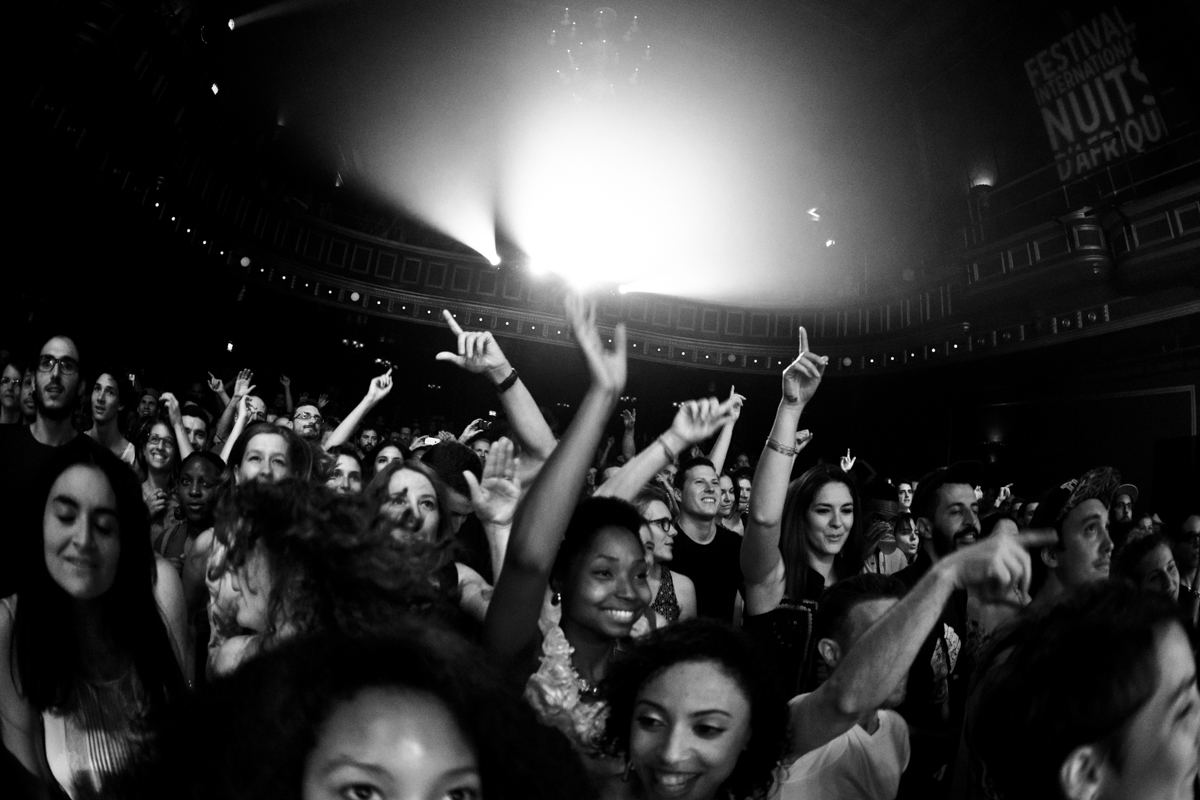
7. Be discreet, respect the public and artists
As a concert photographer, you generally place yourself between the audience and the stage. That is, in front of people who have paid for their tickets, and who are often annoyed by photographers. You have to be able to take it upon yourself, remain discreet and courteous. They can be asked to move for a few seconds for one or two shots, but it should not be abused. As for artists, under no circumstances should we disturb them, and avoid at all costs preventing them from interacting with their audience: we do not raise our arms in front of the face of the artist who is approaching his audience, to take a blind picture and have a shot (extremely) from the front. True story.
I hope these tips could have helped you, don’t hesitate to comment, and enjoy the show!
To support my work : patreon.com/jessicavaloise
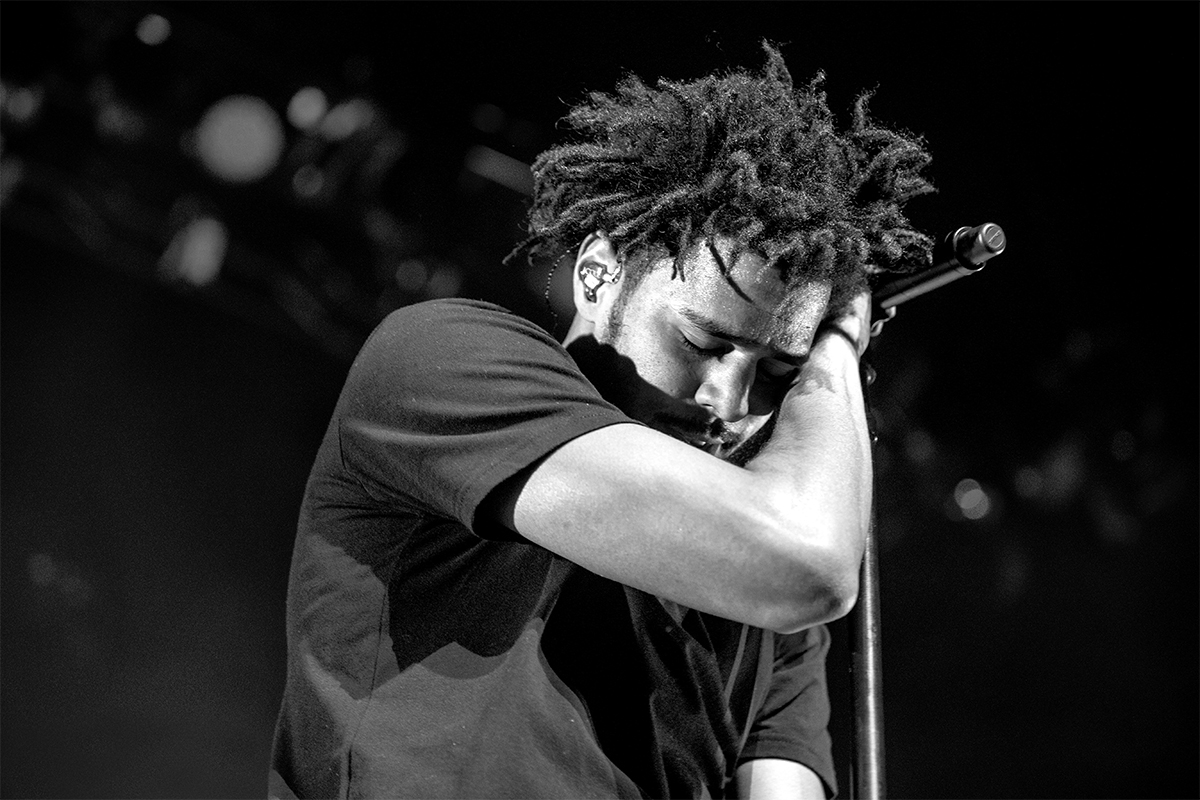
Cover photo: Yasiin Bey at the Centre Phi © 2015 Jessica Valoise